The Imprisoned Angel
The Imprisoned Angel is an Act I quest in Diablo III that takes place mainly in the Halls of Agony.
Contents
Quest Information
- Initiated by: Corpse
- Pre-requisite: Trailing the Coven
- Required to progress? Yes
- Reward(s): Gold/ Experience
- Lore items: Queen Asylla's Journal
- Related Achievements: The Last of the Horadrim +
- Leads to: Return to New Tristram
- Level Range: <quest level="true">the-imprisoned-angel</quest>
The Imprisoned Angel Walkthrough
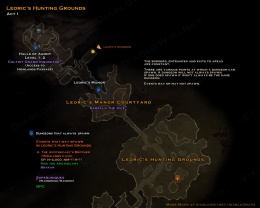
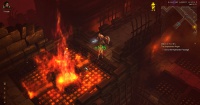
Some corridors will be lined with massive blades which thunder down threatening to mutilate anything foolish enough to get under them. However, their bark is worse than their bite as they inflict very little damage but it still adds a bit of fun trying to fight your way down the corridors whilst avoiding them too.
You may run into a Superunique Dark Cultist called Cultist Grand Inquisitor Master of Pain. He will summon Dark Hellion and will be accompanied by Dark Berserkers and Dark Cultists.
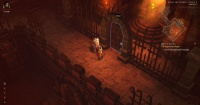
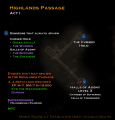
Somewhere on level 2 there will be a door out to the Highlands Passage. Take this and make your way along the bridges until you come to The Cursed Hold.
As you ascend to the Highlands Passage you may find Kyr the Weaponsmith waiting for you. He will offer an event to complete which will also earn you an achievement (A Reputation Restored).
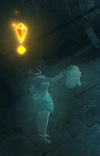
As soon as you descend the steps from the Highlands Passage into the Cursed Hold you'll be met by the ghost of Queen Asylla. She requests you free the spirits of 6 prisoners from cells throughout the Hold. You can earn an achievement if you free them in 2 minutes or under (details below).
There are quite large mixed packs down in the Hold so be sure you've cleared corridors before opening doors so you do not back into another pack when trying to retreat to heal. Using projectile skills such as Multishot can inadvertently break down doors to cells lining the corridors allowing more mobs to pour out when you may not be ready for them. Some cells don't have doors so they'll come out and join in anyway.Use the doorways to your advantage by picking off the packs when they file out into the corridors.
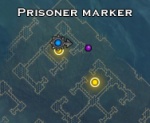
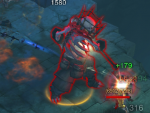
As you near a cell containing a prisoner's remains a yellow indicator will appear on the mini map. Once you have freed them you will need to seek out the The Warden who can always be found at the centre of the level at the crossroads. He is pretty slow so easy to avoid. He possess Jailer (as you'd expect) and Molten affixes but still, if you're the appropriate level here he and his few minions (Savage Fiend) shouldn't present a problem. Try to keep out of the centre however or you'll be fighting them off from four directions.
After the The Warden is dead a gate on the left side of the dungeon will lower allowing you access to the third level of the Halls of Agony where you must locate the Chamber of Suffering where the infamous Butcher can be found.
Before leaving the Hold you should come across a small side room where you will see playing out a scene featuring Leoric standing by as Asylla, (his wife), is strapped into a guillotine and beheaded by Lazarus.
As you approach the Chamber of Suffering you'll get a checkpoint. Once you enter the chamber you can not leave until the Butcher or you is dead. You can town portal out once he is dead and return if you need to sell and collect loot.
This is your showdown with the Act one boss, the Butcher. Details of the battle and strategy can be found on his page. There are a number of achievements associated with the fight that you can earn which are detailed below.
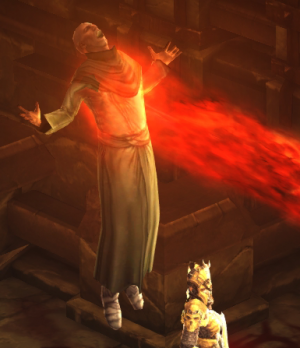
Once he is dead you can make your way to the Cells of the Condemned. A long bloody staircase leads you down to a ritual being performed on The Stranger. You must kill the cultists to free the Stranger who will then reveal who he is. This ends the quest.
Once the quest is over town portal back to Tristram to hand in the quest.
Objectives in Brief
|
|
* Checkpoint reached around this stage in the quest. This means you can quit out and Resume your game at a later date and begin at this point - in effect it's a Save Game point.
Associated Achievements
The Imprisoned Angel is in some way involved in the following achievement(s).
| Name | Points | Description | Banner |
|---|
Media
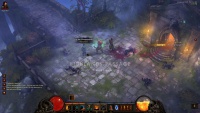
From Halls of Agony to The Cursed Hold
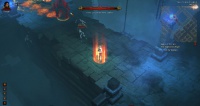
Can't be a jailer without Jailer
Cultists performing a ritual
| Quests & Events of Diablo III [e] Act I Act II Act III & Act IV Act V |
|---|
